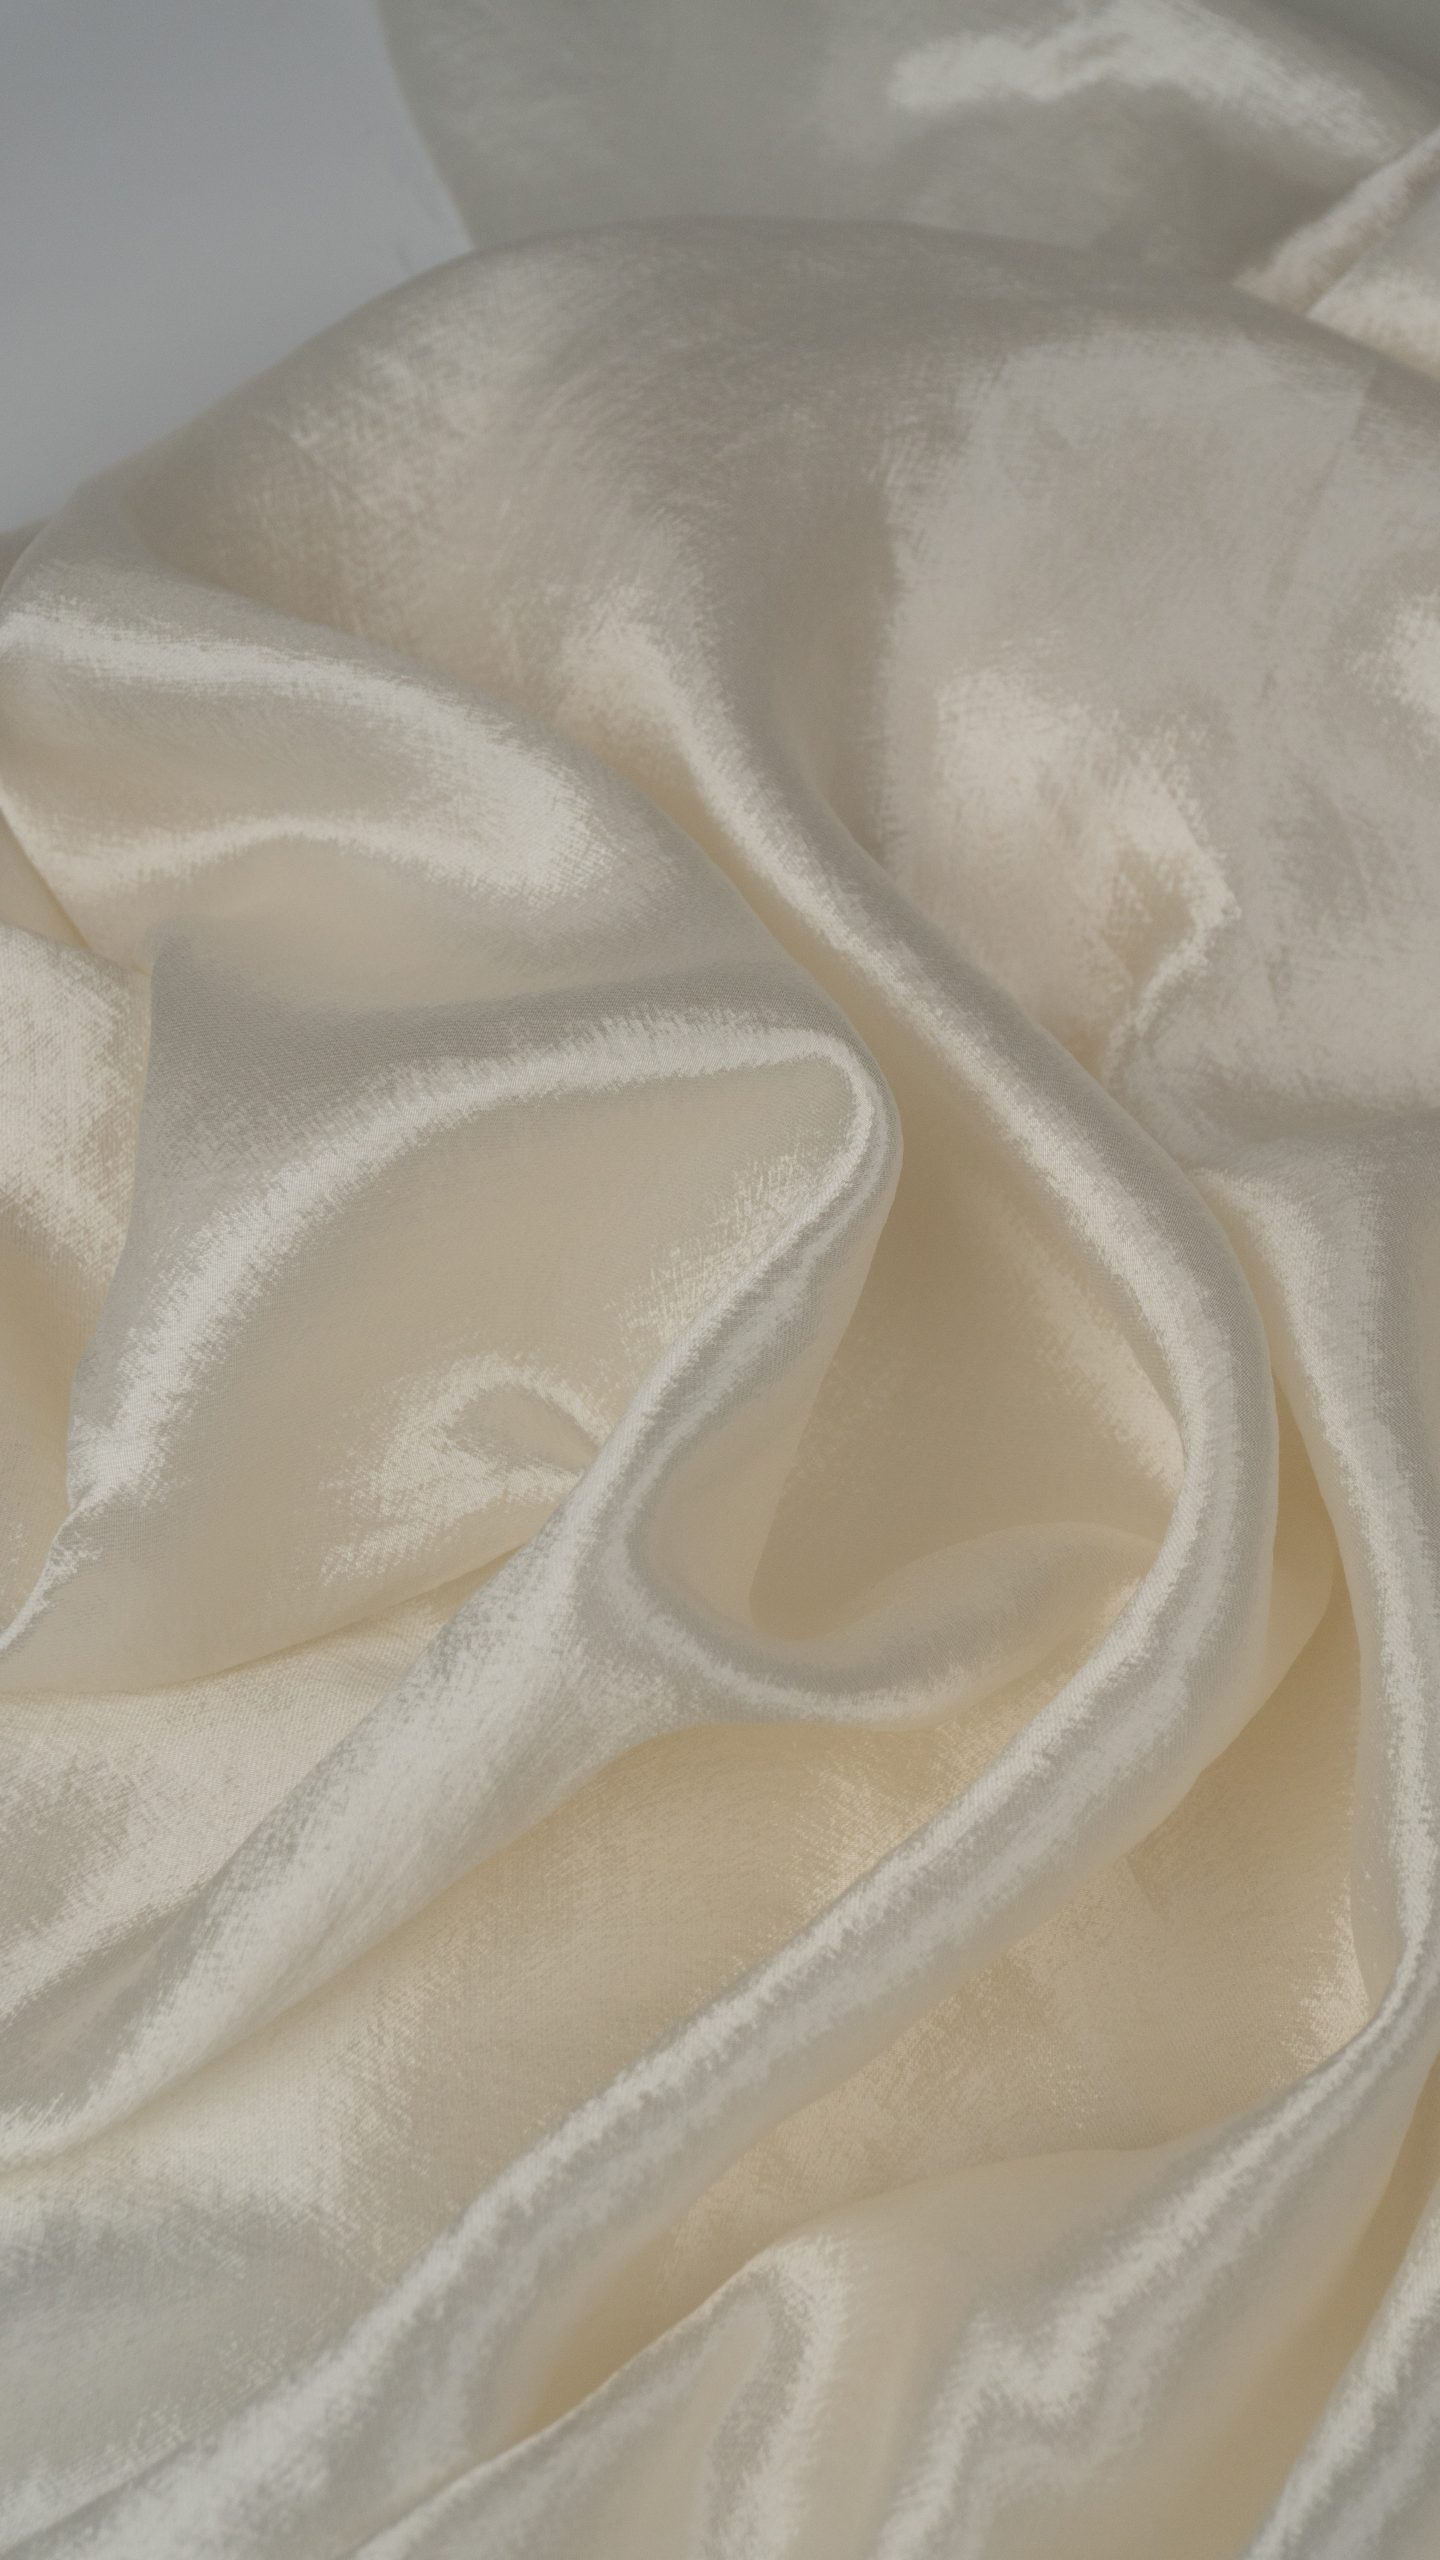
Below are detailed guidelines for cutting acetate fabric, covering everything from preparation to cutting techniques. We hope these tips help you achieve smooth and successful crafting.
I. Core Pre-Cutting Preparation (Top Priority)
Doing this well means half the battle is won for precise cutting.
1. Pre-treatment (Pre-shrinking)
Non-negotiable step! Acetate fabric is typically recommended for dry cleaning, but pre-shrinking before cutting is essential to prevent garment deformation later.
- Methods: Use a steam iron to steam the fabric from a distance of 5-10 cm. Allow the fabric to absorb steam evenly, then hang it to air dry. Alternatively, place a damp cloth over the fabric and quickly iron the reverse side with a low to medium-low temperature iron. Never iron the front side directly at high temperatures—this can cause local shrinkage or shiny spots.
2. Ironing for Flatness
After pre-treatment, iron the fabric until it is completely smooth. Any wrinkles will lead to inaccurate cutting dimensions.
- Temperature: Use the low heat or silk setting. Test iron on an inconspicuous area first.
- Direction: Iron the reverse side of the fabric whenever possible.
3. Identifying Front and Reverse Sides
The front and reverse sides of acetate fabric may differ slightly in luster and texture. Examine carefully under light and mark the reverse side (e.g., with a small tailor’s chalk mark).
4. Recognizing Grain Direction
Closely observe the fabric’s grain to ensure the pattern’s warp direction (grain line) is perfectly parallel to the fabric’s warp. This is crucial for maintaining good drape and preventing garment twisting.
- Checking method: Pull out a thread—if it can be easily extracted at length, it is usually the weft (horizontal thread); the thread perpendicular to it is the warp (vertical thread, parallel to the selvage).
5. Preparing the Workbench
Ensure the cutting surface is clean, spacious, and flat. If the surface is small, support any overhanging fabric to prevent it from sagging naturally, as gravity can cause stretching and deformation.
II. Selection of Auxiliary Materials and Tools
“Sharp tools make good work.”
1. Cutting Tools
- Recommended: Rotary cutter: The best tool for acetate fabric. Its rolling cutting action cleanly slices through the fabric without requiring lifting (unlike scissors), avoiding slippage and deformation.
- If using scissors: Use sharp fabric shears exclusively. Dull scissors will “chew” or pull the fabric, resulting in frayed edges or uneven cuts.
2. Securing Tools
- Weights: Highly recommended! Use specialized pattern weights, or clean, smooth, heavy small objects (e.g., bookends, small jars) to hold the pattern in place. This completely avoids pinholes and movement.
- Silk pins: If pins are necessary, use extra-fine silk-specific pins. Always pin within the seam allowance to prevent permanent holes on the garment’s finished surface.
- Combination: Use a few silk pins to position key areas (e.g., curves, center points) and weights for the rest.
3. Marking Tools
- Air-erase pen/water-soluble pen: Creates clear lines that disappear with water or over time.
- Tailor’s chalk: Use fine-textured chalk that can be gently brushed off. Test on a fabric scrap first to ensure easy removal.
- Avoid regular ballpoint pens or permanent markers.
III. Key Techniques During Cutting
1. Fabric Layout
- Preferred: Single-layer cutting: Lay the fabric flat with the reverse side up, then place the pattern on top. This maximizes control over the fabric and ensures precision for each piece. While slower, it is the safest method for acetate.
- Double-layer cutting (use with caution): If folding is necessary, ensure selvages are perfectly aligned, and the fabric is flat, tension-free, and untwisted. Smooth gently by hand—never pull forcefully.
2. Securing the Pattern
Adopt the “weights as primary, pins as secondary” method mentioned above. Secure the pattern firmly to the fabric to prevent any movement during cutting.
3. Cutting Operation
- With a rotary cutter: Press the pattern edge firmly with your hand or a ruler, then glide the rotary cutter smoothly along the edge with even pressure in one continuous motion.
- With scissors:
- Keep the scissors fully flush with the workbench and move horizontally—never lift the fabric.
- Hold the scissors with a comfortable grip and make long, fluid cuts. Avoid short, “choppy” snips, which cause uneven edges.
- Ensure scissors are sharp and cut through the fabric in one pass—do not saw back and forth.
4. Handling Bias-Cut Areas
Acetate fabric has excellent drape, and bias-cut sections (e.g., camisoles, draped details) are prone to stretching. Immediately after cutting, stabilize these edges with bias tape or a loose basting stitch using a single thread to prevent deformation before sewing.
IV. Post-Cutting & Pre-Sewing Handling
- Marking: Immediately mark all notches, darts, pocket positions, etc., with thread tacks or a water-soluble pen. Acetate’s smooth surface causes marks to fade easily during handling.
- Storage: Roll or lay cut pieces flat carefully. Avoid folding, as this can create permanent creases.
Summary of Key Points (Quick Reference Checklist)
✅ Mandatory pre-shrinking: Steam from a distance with a steam iron.
✅ Low-temperature ironing: Iron the reverse side until completely flat.
✅ Preferred tools: Rotary cutter + weights.
✅ Single-layer cutting: Safest and most precise.
✅ Secure firmly: Pattern and fabric must not move during cutting.
✅ Prevent stretching: Stabilize bias-cut areas immediately after cutting.
✅ Mark promptly: Add alignment marks right after cutting.
By following these guidelines, you can master working with acetate fabric, embrace its elegant luster and fluid drape, and create stunning finished pieces. Happy cutting!